iHackCTF 2025: How I Solved Some Challenges
Writeup : my approach.
TL;DR
Event: iHack CTF 2025
Team: Solo
Score / Rank: Won
Hey everyone! Here’s a quick walkthrough of how I tackled some of the challenges from iHack CTF 2025.
Read the Rules - Web
Summary: Warm-up recon; flag hidden in the page source.
Approach:
- Open the
/rulespage in a browser. - View page source and search for HTML comments.
Reproduction:
- Visit
/rules - View page source
Hail Caesar - Crypto
Summary: Two Base64 blobs — the second decoded to scrambled JS; a Caesar-style shift recovered a small decryptor which was then applied to the first blob.
Approach:
- Base64-decode both strings (CyberChef or a local decoder).
- Recognize the scrambled JS in the second decoded blob; use a single-character shift to recover valid JavaScript.
- Run the recovered decryptor against the first decoded blob to reconstruct the flag.
Tools: CyberChef, browser console, node
Decryptor helper (JS):
1
2
3
4
5
6
7
function decrypt(ch, inc) {
    return String.fromCharCode(ch.charCodeAt(0) + inc);
}

let s = '';
s += decrypt('h', 0);
console.log(s);
From Mars - Reverse
This last one was a real head-scratcher—a full-on reverse engineering problem.
File Triage:
They gave us a
.jpgfile that wasn’t actually a picture.I ran
binwalkon it, a tool that looks for files hidden inside other files, and sure enough, it found a Windows executable tucked away inside.After renaming it to
.exe, I ran thestringsutility on it. This showed me a bunch of text from the file, including references to a C source file (martian_transmission.c), which confirmed it was a compiled program.
Static Analysis with Ghidra:
To figure out what the program was actually doing, I opened it up in Ghidra, a powerful reverse engineering tool.
I went straight to the
mainfunction (the starting point of most programs) and saw it was calling another function namedprocess_binary_sequence. That sounded like where all the important stuff was happening.
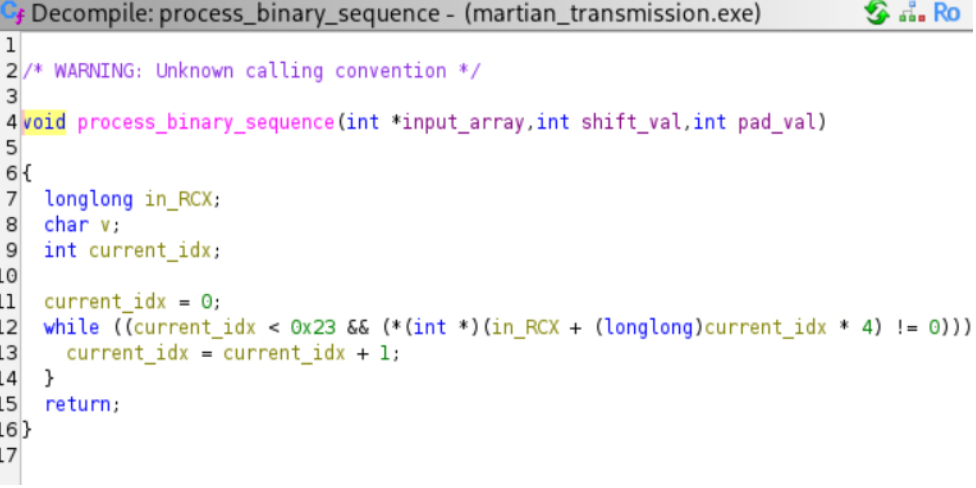
Deconstructing the Algorithm:
Diving into the assembly code, I could see exactly how that
process_binary_sequencefunction was being called. It was using three key pieces of information: an array of numbers, a “shift” value of7, and a “padding” value of13.I found the big array of numbers stored in a different part of the program’s memory.
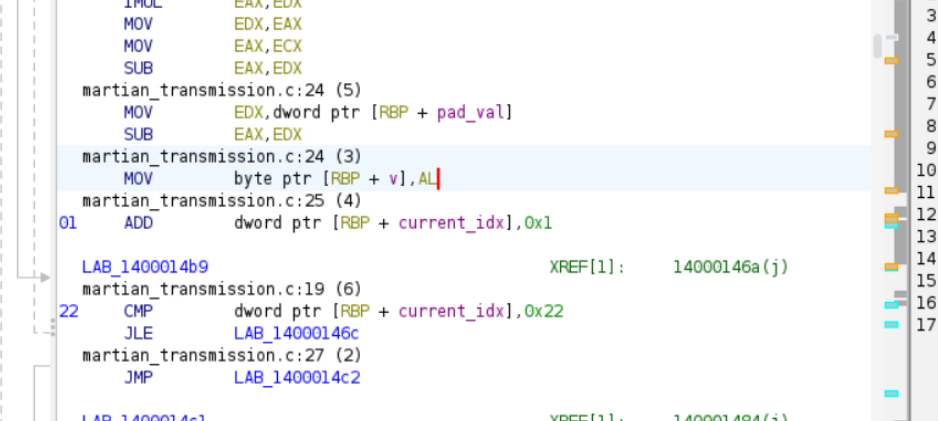
Re-implementing the Decryptor: After trying a lot of things, instead of trying to debug the live program, I figured it’d be easier to just copy its logic. I grabbed the array of numbers, the shift value, and the pad value, and just rebuilt the whole decryption algorithm in Python.
My Python Solver:
1
2
3
4
5
6
7
8
9
10
11
12
13
14
  # numbers I pulled from the program
  data = [
      0x76, 0x7c, 0x7c, 0x7c, 0x94, 0xab, 0x9d, 0x91, 0xb5, 0xc7, 0xcd, 0xcd,
      0xce, 0xec, 0xf9, 0xfe, 0xf8, 0xe1, 0x115, 0x114, 0x102, 0x135, 0x136,
      0x13c, 0x14e, 0x16a, 0x0
  ]

  shift = 7
  pad = 13

  # logic from the program, rewritten in Python
  flag = "".join(chr((n - (i * shift) - pad) & 0xFF) for i, n in enumerate(data) if n != 0)

  print(flag)
Why & 0xFF - The compiled program produced single bytes; some constant values exceed 0xFF. Masking with & 0xFF emulates the original wrap-around.
Looking back, I probably could have solved this a different way. Using a debugger like x64dbg would have let me run the program, pause it right after that special function finished, and just grab the flag straight out of the memory. It would’ve saved me some coding, but hey, both ways get you the flag!